Tuesday, 12 April 2011
What is the purpose of the peel ply?
chris asked me to blog on that topic. we nomally use the peel ply when glassing so i have been thinking about the reasons. First of all, we will be less sading after peel it off unless there is peel ply wrinkle. The other reason why we use the peel ply is that it's holding the shape of the hull because once it's laminating, it would be very tight. Third, it will protect laminted parts from dirt,dusty and any other things because they might be exposed many days, also there are red lines so we can see that it's peel ply which means we can look after laminated parts.
Monday, 11 April 2011

Thursday, 7 April 2011

Tuesday, 5 April 2011
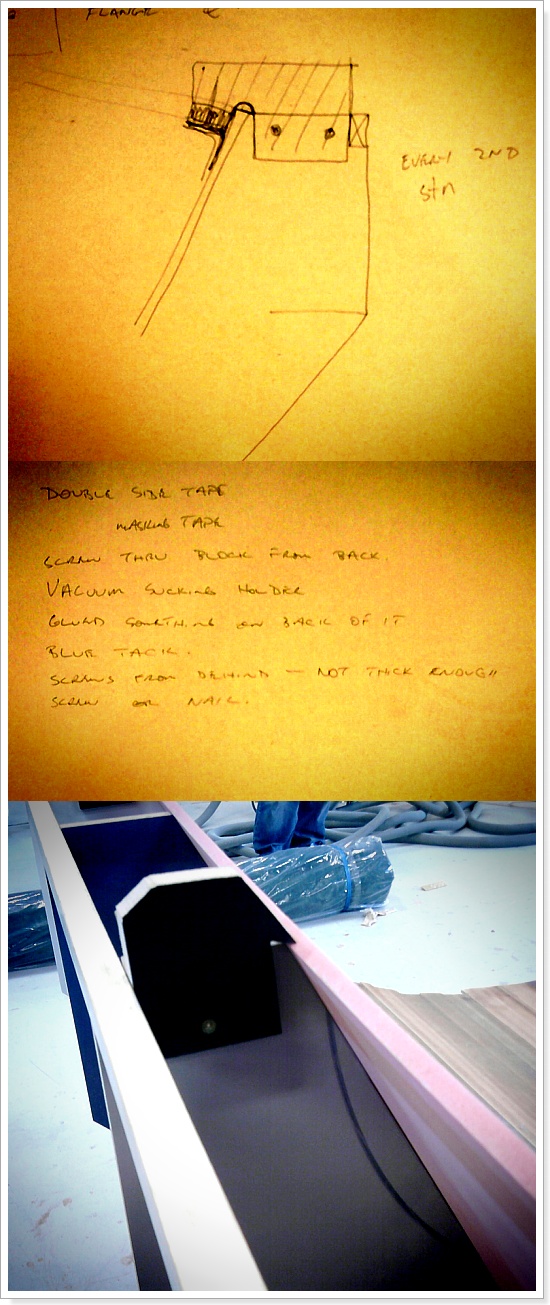
Girder
Kenny and I made the girder. Before we make it, we asked to Chris how it is going to be done. First of all, we discussed that what is the purpose of the girder so we answered that question.
- support to the cockpit sore
- firm / strong
- streight / stiffness
- balancing
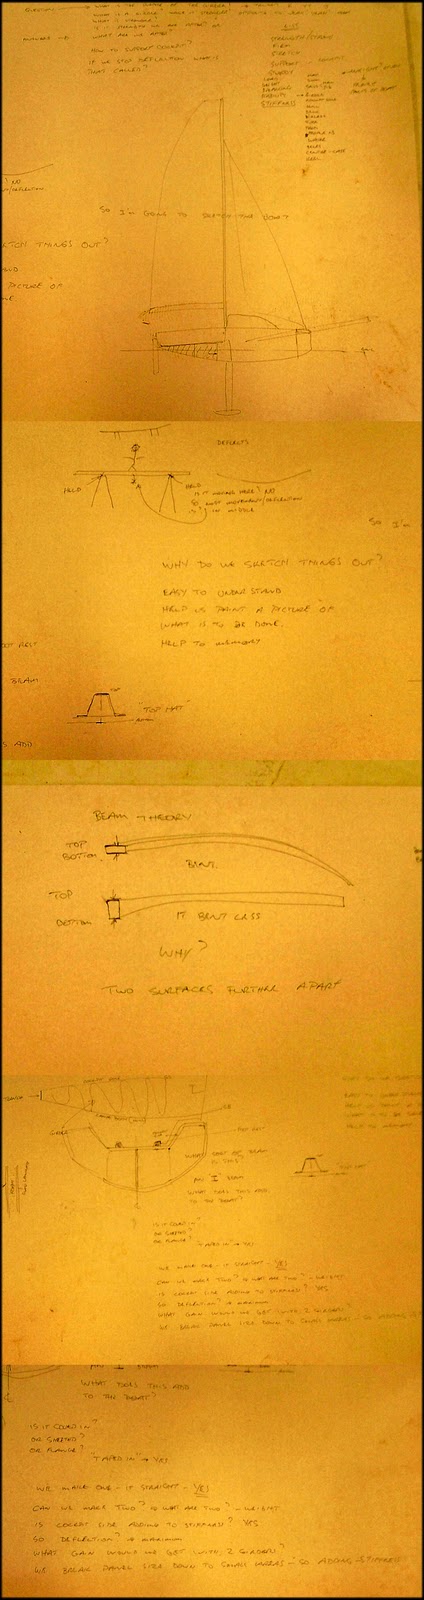
Chris also explained that he went up the middle of cardboard which two saw bench were holding each ends. The weight prssure the middle bending the cardboard so we need something support it. That is why we make the girder.
How to make the girder.
First of all, we need loafting this so we got all measurements from the Autocad then we figured out the thickness of planking as well as cockpit sore. After lifting off on the foam, we prepared to vacuum it.
Monday, 4 April 2011


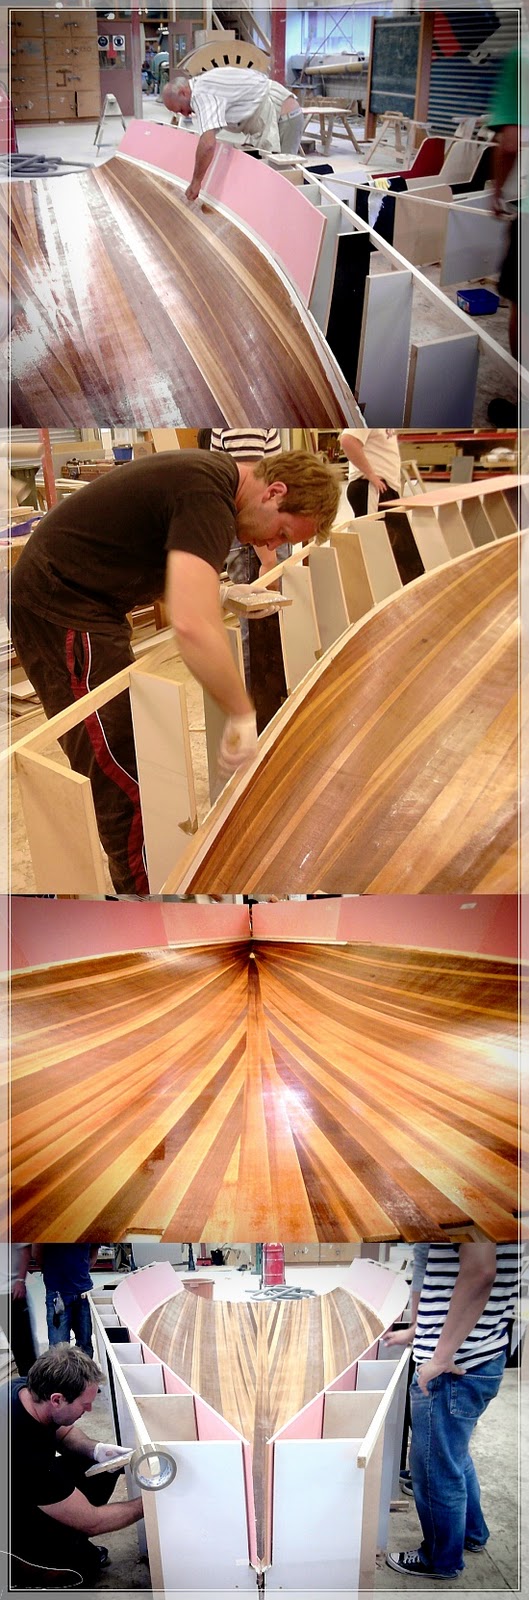
This is the picture which we were gluing all the planking. Before we take those planking out, we should mark something like letter or number on the planking we can know which one was it. Then some people glue the planking and others put these planking back. After that we make sure take glue off which is squeeze on the planking.

<After work>

After dry the glue, we started sanding to make sure it fair and take glue mark off. You must need the glasses, earmark and mask because there are lots of dusty when you are sanding. It takes 2~3days because it will take whole day for sanding and then you glue into the nail hole as well as gap and then the other day we are sanding again. One tip is that if you make own sanding block which make it comportable for using yourself, it will be much easier and quicker.

This is the picture finished the sanding. It looks more clean, smooth and fair.
Subscribe to:
Posts (Atom)